Basic layout tutorials
[ Home ] [ Design WorkBook ] [ Back to index ]
Contents
- Introduction
- Create a ruler
- Draw a simple metal layer
- Edit objects
- Merge layers
- View the layer stack
- Create a text label
- Create a pin
Keywords:
Introduction
This pages assume that you are completely new to layout.
http://www.eda.ncsu.edu/wiki/Tutorial:Layout_Tutorial2
http://web.engr.oregonstate.edu/~moon/ece423/cadence/example2.html
Basic environment setup
cd ~/cadence/tech_dir
ln -s /path/to/technology/display.drf display.drf
Load standard bindkeys
Using bindkeys allow the designer to save time avoiding search-and-click procedures.
Cadence IC 6.1.x offer a predefined set of bindkeys for Virtuoso Layout Editor, contained
in the $IC_DIR/tools/dfII/samples/local/leBindKeys.il SKILL file.
Default bindkeys are loaded at Cadence startup from $IC_DIR/share/cdssetup/dfII/bindkeys/Layout.il.
Actually the sample file contains the same bindkeys definition as given in the loaded one.
On the other hand a specific technology could introduce its own bindkeys, which may ovveride Cadence's defaults.
If you want to ensure that default bindkeys are always loaded at Virtuoso startup make a local copy in your
~/scratch area of the leBindKeys.il sample files wich comes with the Cadence IC installation, e.g.
cd ~/scratch/
mkdir bindkeys
cd bindkeys
cp  $IC_DIR/tools/dfII/samples/local/leBindKeys.il leBindKeys.il.default
and then simply add in your home ~/.cdsinit_personal initialization file a load() statement:
printf("Loading standard bindkeys for Virtuoso Layout Editor L/XL. \n")
load("~/scratch/bindkeys/leBindKeys.il.default")
If you want to use custom bindkeys (or create your own bindkeys) for the technology you are working with,
place them in a ~/scratch/<tech_dir>/bindkeys directory and use ./.cdsinit or ./.cdsinit_local files.
See also http://www.cadence.com/Community/forums/t/11755.aspx.
Only Cadence default bindkeys will be mentioned for the WorkBook layout tutorials.
Starting Cadence Virtuoso Layout Editor L/XL
CIW ⇒ Tools ⇒ Library Manager…
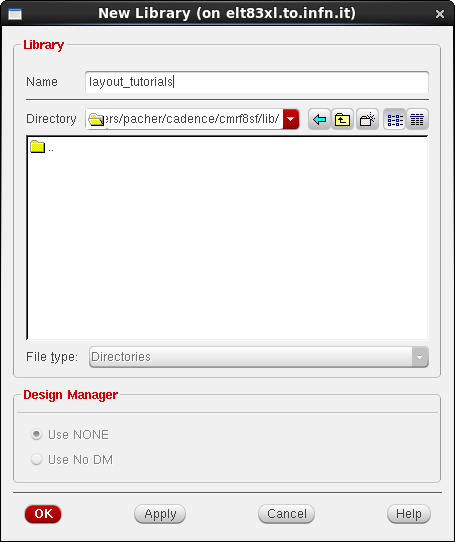
LM ⇒ File ⇒ New ⇒ Library
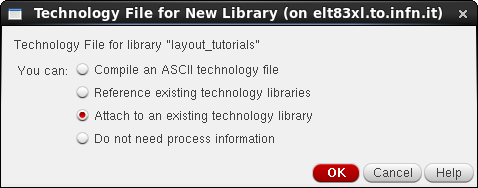
check the Attach to an existing technology library option and select the technology you are working with.
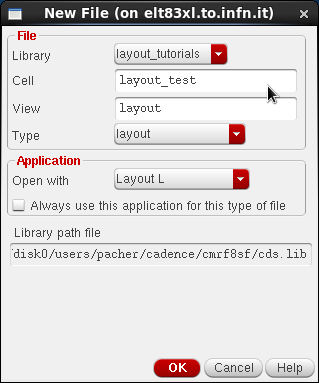
LM ⇒ File ⇒ New ⇒ Cell View..
The basic documentation related to Virtuoso Layout Editor L can be found in
$IC_DIR/doc/vlehelp/vlehelp.pdf
Basic user preferences
Set some useful preferences in the Cadence main window,
CIW ⇒ Options ⇒ User Preferences and deselect Infix (No Click is necessary for first point)
Display Options window
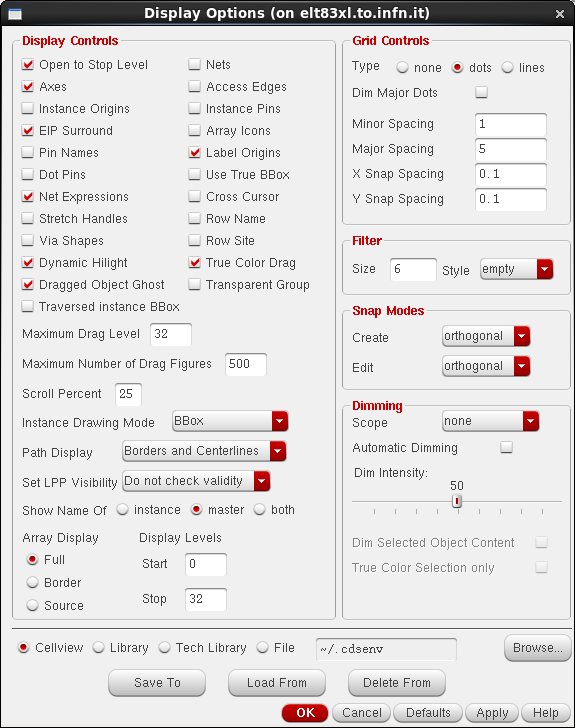
Layout Editor L/XL ⇒ Options ⇒ Display…, shortcut <e>
Importante! off-grid errors otherwise!
Settare grid spacing,
Enable the Pin Names option in the Display Control section. This allows you to see the names of the pins placed in the layout.
Another very important setting is the number of layers displayed in the layout window. Otherwise your instances will just look like empty red-boxes. The same result can be obtained with the <shift + f> shortcut.
It is a good practice to save these display preferences as your default values, so that each time you will start virtuoso these settings will be automatically loaded. At the bottom of the Display Options window check File and click to Save To to write options into your home ~/.cdsenv or into your technology ./.cdsenv file. Please, remember that by default a local ./.cdsenv is not loaded at startup unless the CDS_LOAD_ENV environment variable is set to addCWD, as described here.
You can also edit the .cdsenv files by hand with your preferred text editor and cut and paste the following lines:
;;   display controls   ;;

; display pin names
layout   displayPinNames   boolean   t

; start and stop levels
layout   startLevel   int   0
layout   stopLevel    int   20   ; shows basically everything


;;   grid controls   ;;

; minor spacing

; major spacing

; manufacturer grid
layout            ySnapSpacing    float   <xValue>
layout            xSnapSpacing    float   <yValue>
The X and Y grid spacing in Layout Editor are controlled by the xSnapSpacing and ySnapSpacing environment variables.
Set the Snap Mode to Diagonal instead of Orthogonal
Layout Editor Options window
Layout Editor L/XL ⇒ Options ⇒ Editor… shortcut <shift + e>
Uncheck the Gravity On option if set. Gravity is an annoying option that snaps the mouse cursor to odd places.
Anche qui, conviene poi fare un bel Save To
; disable Gravity On
layout   gravityOn   boolean   nil
The Layer Palette
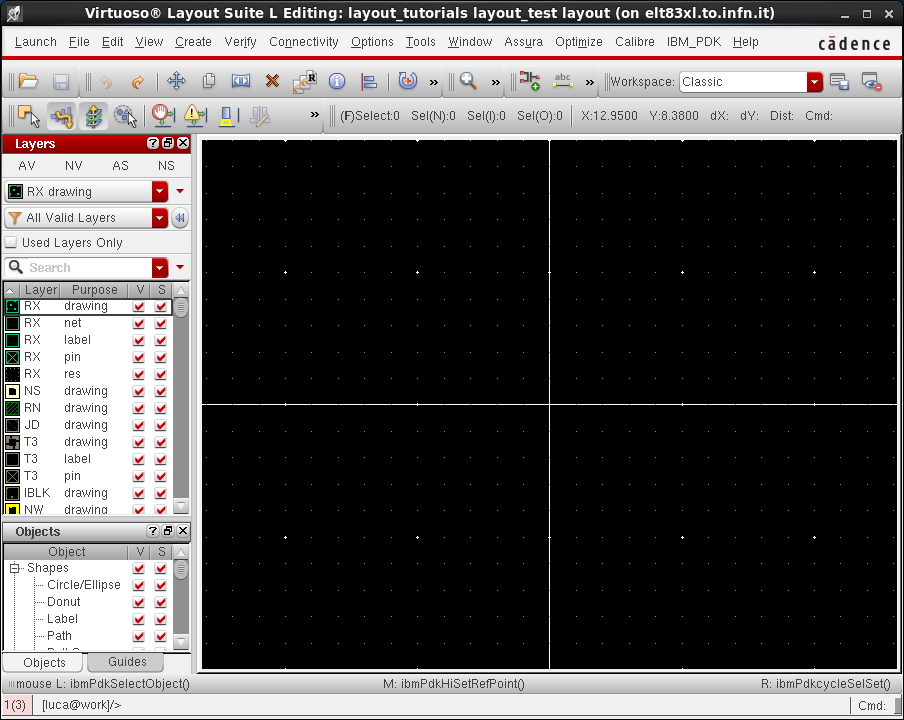
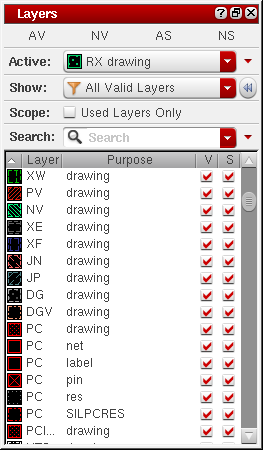
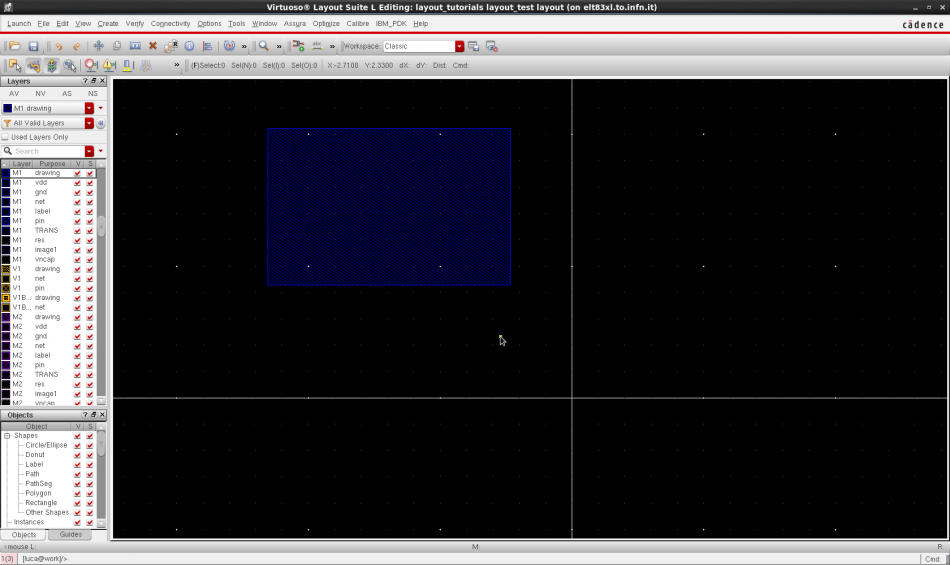
The Layer Palette panel shows you all the layers available in the technology you are working with. Basically layout means select different layers and draw rectangles.
Layer Palette introduced in Cadence IC 6.1.4 is a replacement for the old Layer Selection Window (LSW) mentioned in many other web tutorials.
To select a layer simply left click on the desired layer in the list.
Note that only layers flagged as drawing are physical and will be fabricated! All the other layers are used for labeling, highlighting errors and documentation.
The Layer Palette can also be used to restrict the type of layers that are visible or selectable in the layout window.
AV All Visible
NV None Visible
AS All Selectable
NS None Selectable
The Layer Palette is on by default in Cadence IC 6.1.5. If you prefer to use the old LSW instead of the new Layer Palette
CDS_USE_PALETTE environment variable
setenv CDS_USE_PALETTE
Common layers: p, n, n-well, p+, n+, POLY, active, contact, M1, M2, etc.
Yoy can search in the list typing the name of the layer or part of it in the Search tab.
Whetting the appetite
In this section a few very basic exercises to become familiar with the Virtuoso Layout Editor tool are proposed. These are completely technology-independent examples.
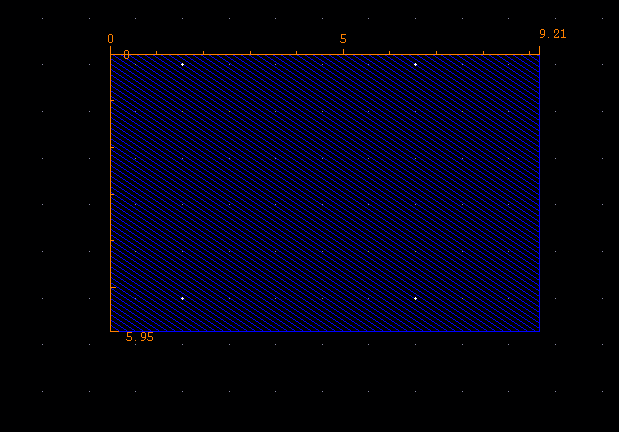
Ex1 - Create a ruler
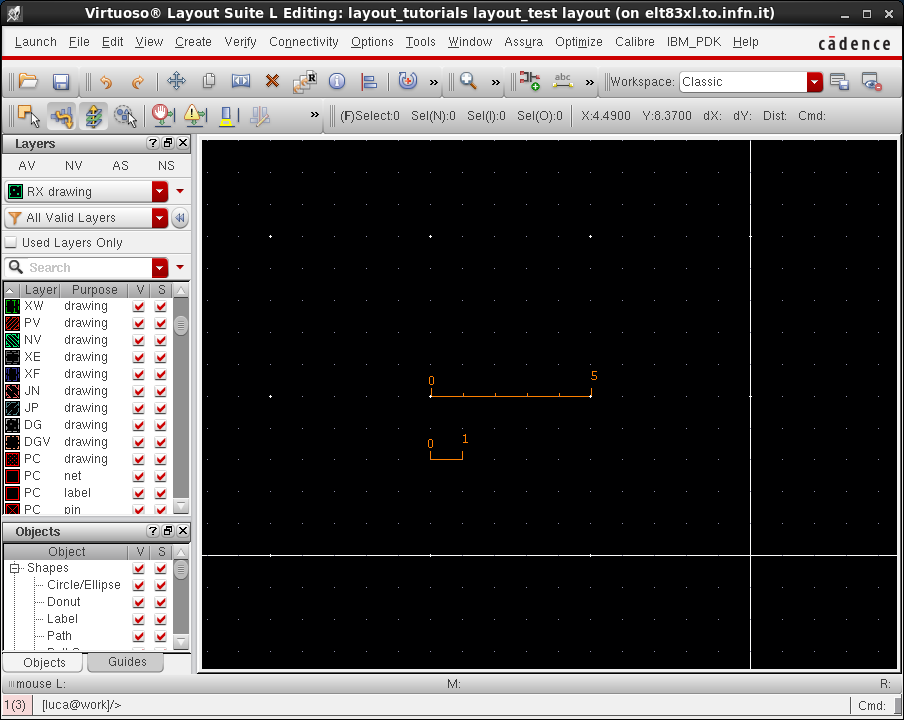
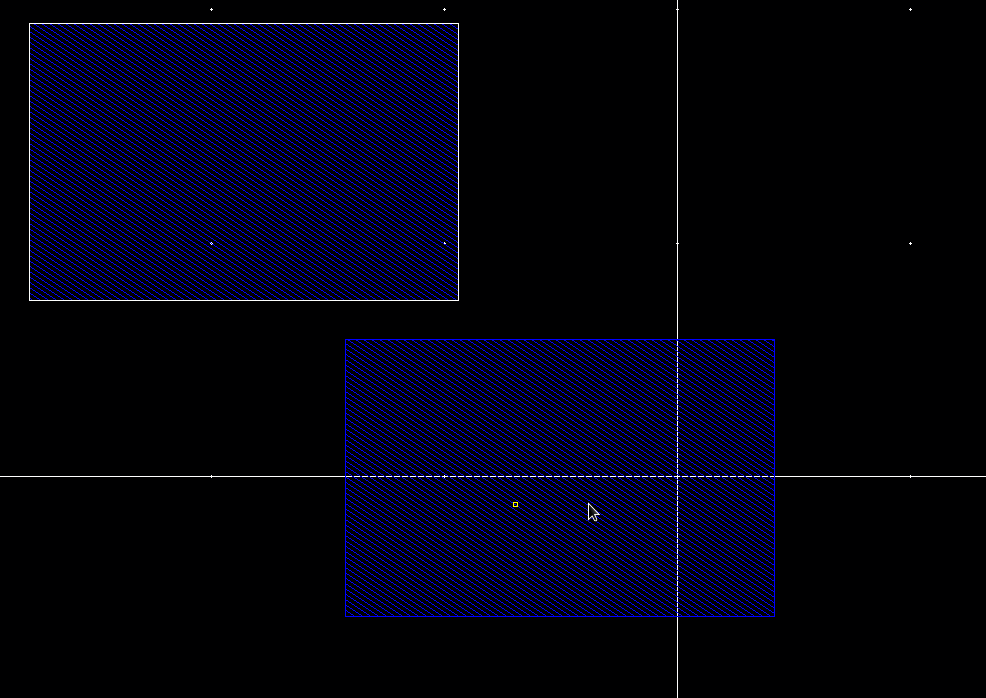
Check the grid spacing values previously set through the Display Options windows using a ruler!
Layout Editor L ⇒ Tools ⇒ Create Ruler
k, shift+k
Zooming in with <ctrl + z>
Ex2 - Draw a simple M1 metal layer
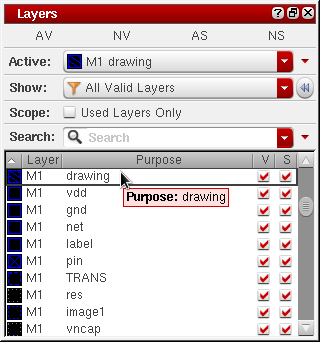
To draw a mask first choose the corresponding layer in the list by clicking on the layer
M1, che e' technology-independent!
Select the M1 layer in the list. Ensure that the purpose is drawing.
Layout Editor L ⇒ Create ⇒ Shape ⇒ Rectangle or simply use the shortcut <r> then move your cursor in the layout window where you want to draw the mask. Left click with the mouse and move the cursor. Left click again when you reach the desired opposite corner of the rectangle. You can check the dimensions with a ruler as described in the previous exercise.
Ex3 - Edit objects
Stretch, move, copy, delete, chop, undo, rotate/mirror etc.
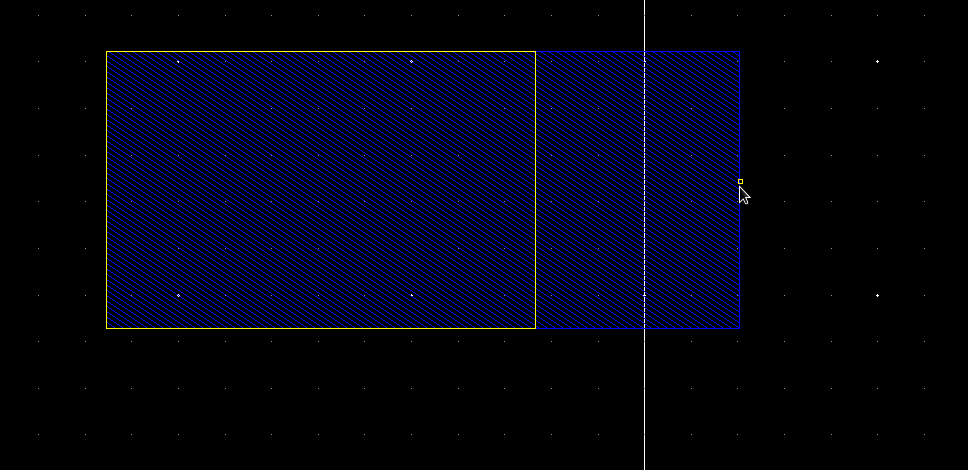
Layout Editor L ⇒ Edit ⇒ Stretch shortcut <s>
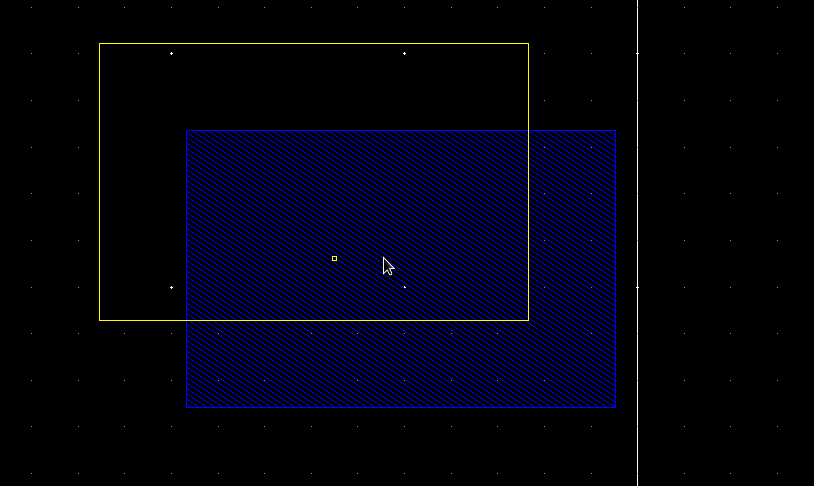
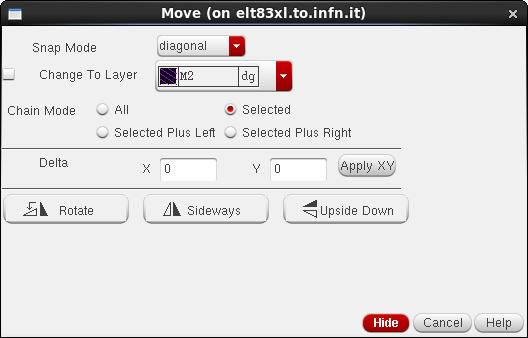
Layout Editor L ⇒ Edit ⇒ Move shortcut <m>
Beside the move command it useful to learn how to quick rotate/mirror a shape by using the F3 key
Layout Editor L ⇒ Edit ⇒ Delete shortcut <canc>
Layout Editor L ⇒ Edit ⇒ Copy shortcut <c>
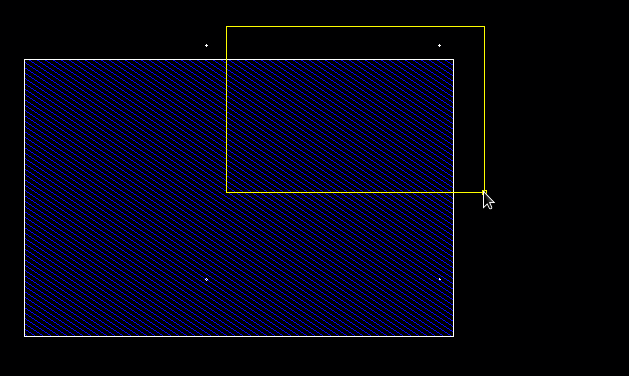
Per choppare invece 1) select the mask 2) shift + c 3)
Layout Editor L ⇒ Edit ⇒ Basic ⇒ Chop shortcut <shift + c>
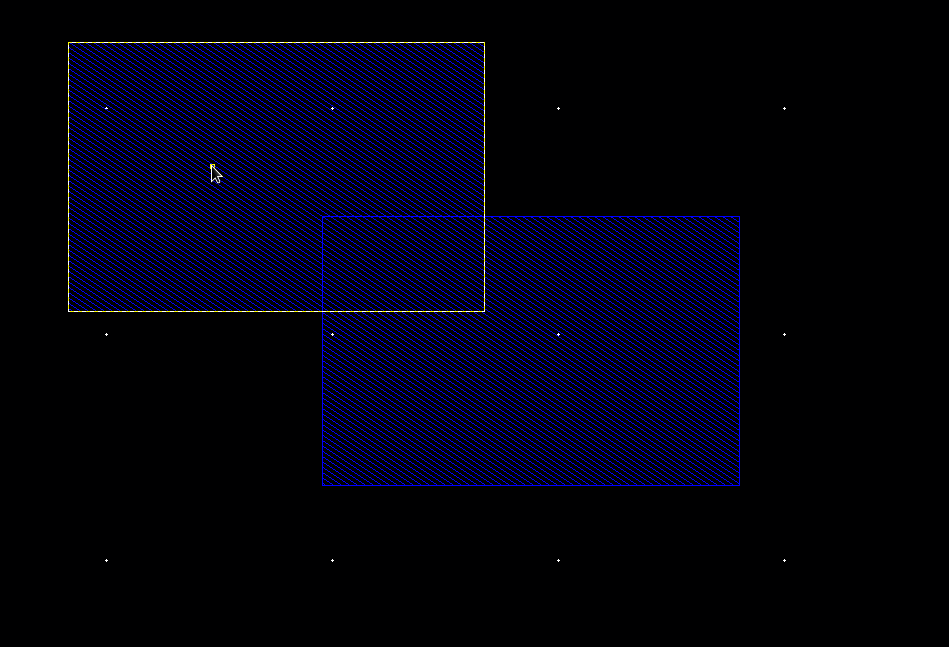
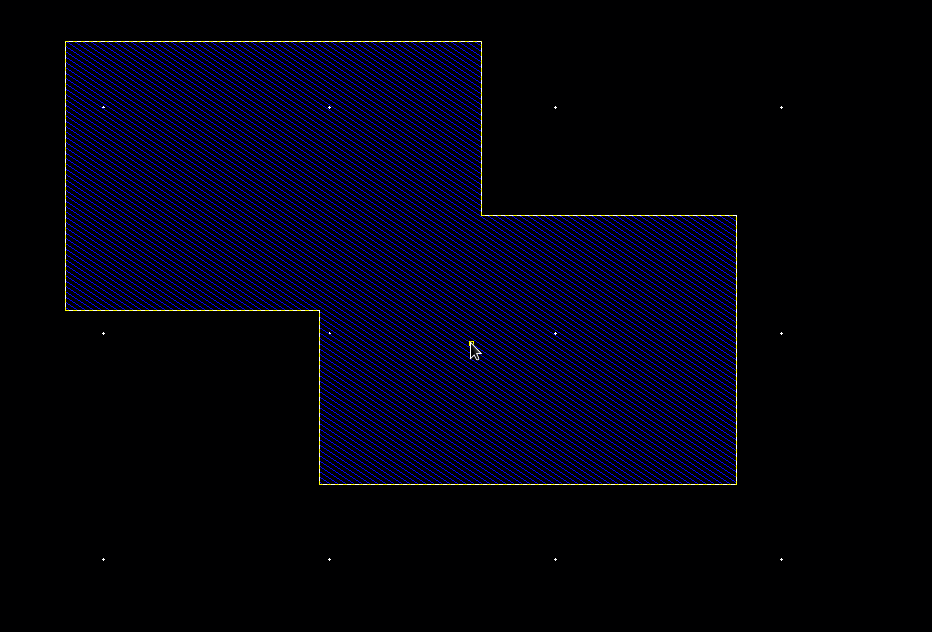
Ex4 - Merge layers
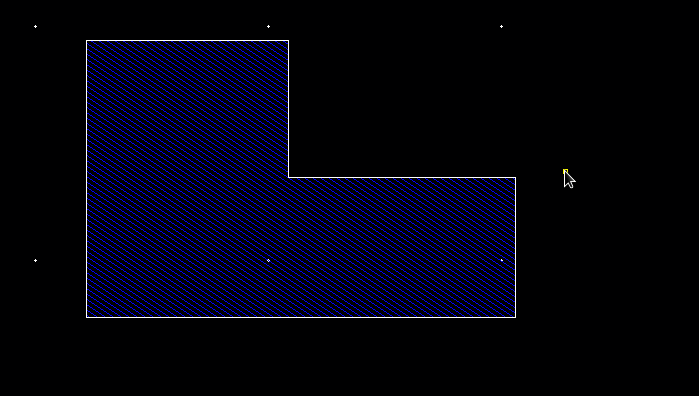
merges overlapping selected identical layers
Layout Editor L ⇒ Edit ⇒ Basic ⇒ Merge shortcut <shift + m>
Ex5 - View the layer stack
Draw a stack of superimposed metals M1 M2 M3,,, poi tap!
Ex6 - Create a text label
Layout Editor L/XL ⇒ Create ⇒ Label
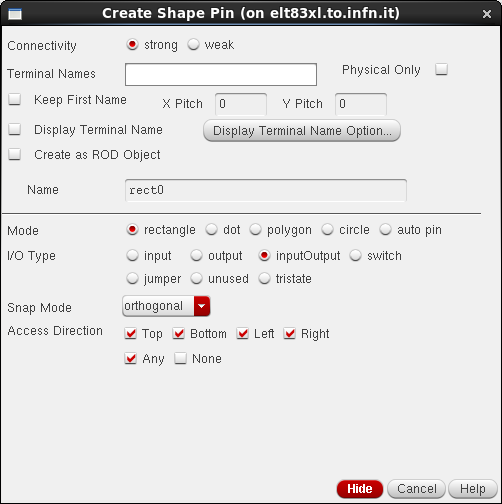
Ex7 - Create a pin
Working with parametrized cells
Layout Editor L/XL ⇒ Create ⇒ Instance shortcut <i>
e.g. instance a contact between poly and M1!
Layout Editor L/Xl ⇒ Create ⇒ Via shortcut <o>
e.g istanziare una matrice di contatti! Specificando rows and columns!
View the layer stack with Layout Editor L/XL ⇒ Tools ⇒ Tap shortcut <t>
SOLO Per esercizio provare a flatterare the cell!
Layout Editor L/XL ⇒ Edit ⇒ Hierarchy ⇒ Flatten
Flattening the hierarchy should be used only for learning purposes or in very rare cases!
Bindkeys
Default bindkeys defined by Cadence for Virtuoso Layout Editor L/XL are loaded from
$IC_DIR/share/cdssetup/dfII/bindkeys/Layout.il
cd ~/.cadence/dfII/bindkeys
If the bindkeys directory does not exist, create it before proceeding.
cp $IC_DIR/share/cdssetup/dfII/bindkeys/Layout.il Layout.il.default
NMOS and PMOS layouts
Click here
Fatto benissimo… http://cmosedu.com/videos/cadence/tutorial2/cadence_tutorial_2.htm
Tra l'altro nessuno che cazzo faccia vedere un semplice NMOS e che poi lo simula! Cos'e' troppo stupido per un principiante?
Contact layers
Click here
Inverter layout
Click here
Inverting amplifier
Differential pair layout
Design rules
e.g minimum width, space, clearance, overlap, extension
click here
Post layout simulations
Click here
Appendix - Standard shortcuts
| shortcut | description |
|---|---|
| k | ruler |
| shift + k | delete all rulers |
| ctrl + z | zoom in |
| shift + z | zoom out |
| f | fit zoom |
| e | Display Options |
| shift + e | Layout Editor Options |
| r | draw rectangle |
| p | draw path |
| i | create instance |
| o | create contact/via |
| l | text label |
| p | create pin |
| ESC | end current mode |
| u | undo |
| ctrl + r | redraw |
| F2 | save file |
| F3 | rotate/mirror |
| m | move |
| c | copy |
| s | stretch |
| q | edit instance properties |
| shift + m | merge overlapped layers |
| shift + c | chop |
